If you are trying to enable a page cache, database cache, (persistent) object cache. or browser cache on your Wordpress website this article will walk you through it.
Caching is supported by default on the Brownrice SmartVPS platform. Many different caching plugins and methods are supported, but this is our current recommended method.
Caching will speed up your website - however it will also use more memory and disk resources to do so. So keep in mind that if you are doing heavy caching, as outlined in this FAQ, you may start to get VPS performance alerts and be prompted to upgrade your VPS.
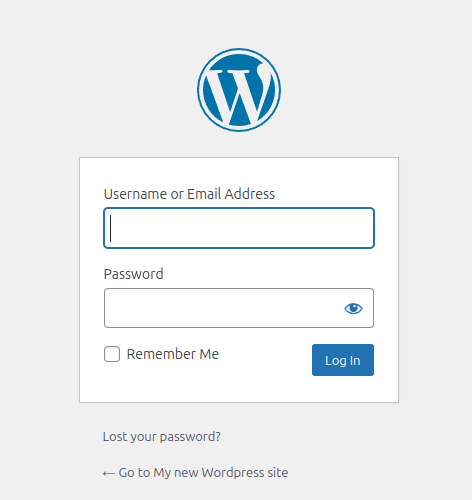
Step 1: Login to your wordpress site
- To login to your Wordpress site, navigate to yoursite.com/wp-admin and enter your user/password as prompted:
- Navigate to the Plugins menu and click Add New Plugin
You'll find this menu on the left hand side of your admin navigation bar: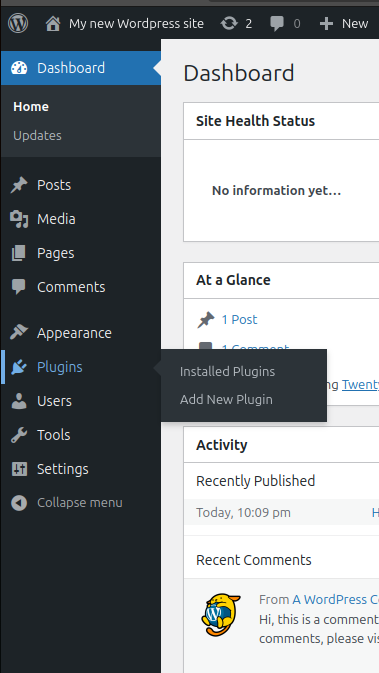
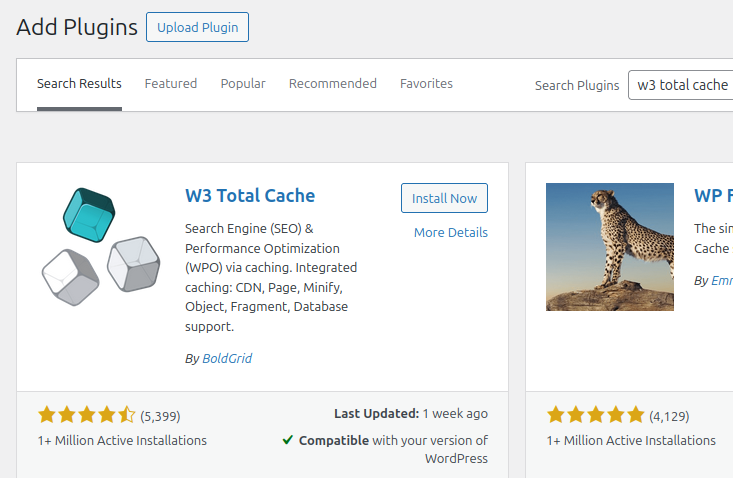
- Search plugins for "W3 Total Cache" and install it. This search bar can be found on the right hand side of the Add Plugins page. Click the Install Now button next to the plugin after you search it:
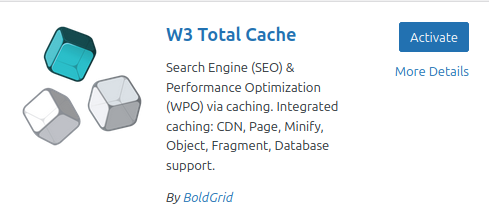
- Activate the plugin. After clicking the Install Now button, you need to activate the plugin. On this same page click the blue Activate button next to the plugin. You could also activate this plugin from the Installed Plugins page, but it's easiest to activate it right away on the same page you installed it from:
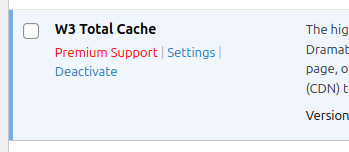
- Configure caching settings. After installing the plugin your browser will automatically take you to the plugins list, and W3 Total Cache will be in that list. Click the Settings link as shown:
- This will take you to the TOTAL CACHE: Setup guide
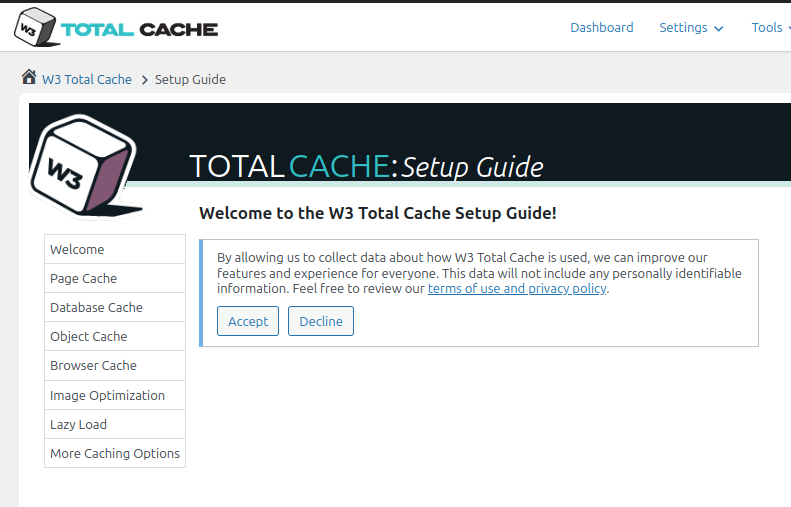
- Click the Accept button to get started. Follow the guide and use our recommended settings:
Page Cache:
Click Test Page Cache and select the recommended caching method. Either "Disk: Enhanced" or "APC" are the best options here. Disk caching will use more disk space, while APC caching will use more memory. Either are a good option for page caching.
Select your desired caching method and click the NEXT button: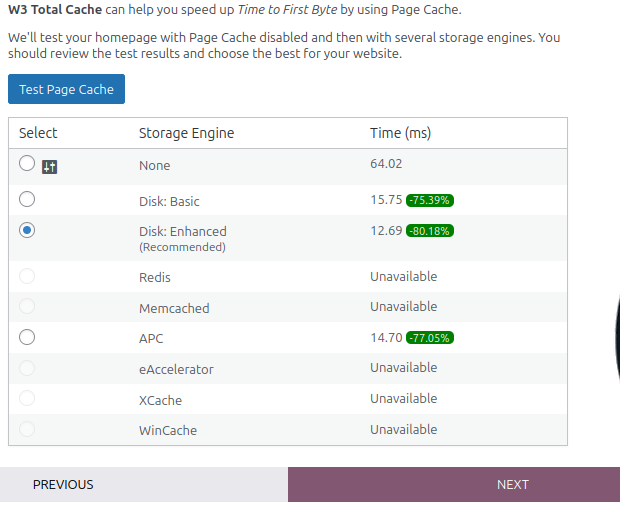
Database Cache:
Click Test Database Cache, then select APC caching method below. APC caching is by far the fastest option here in most cases. Click the NEXT button to go to the next page.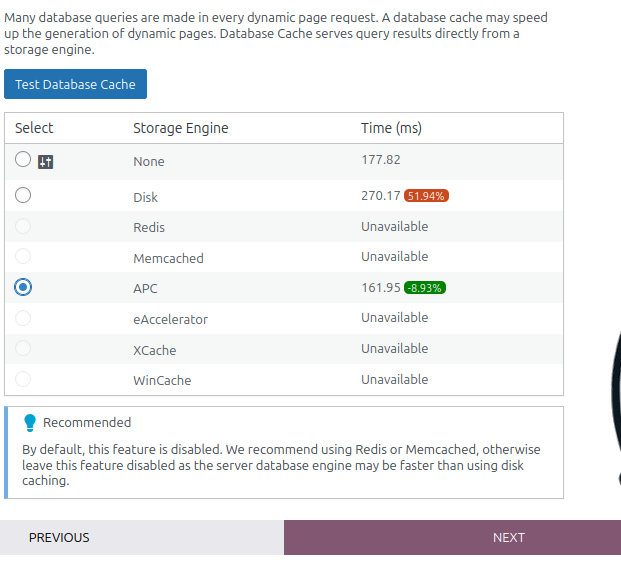
Object Cache
This is also commonly referred to as a Persistent Object Cache. Same as the other steps click Test Object Cache, then select APC caching which is typically the fastest option. Click the NEXT button once done.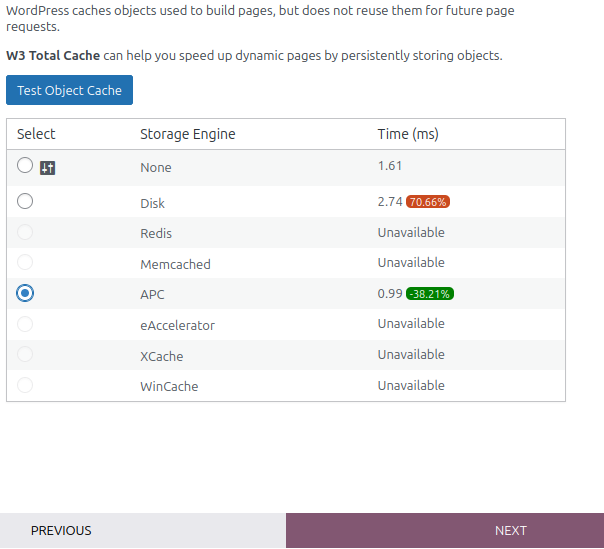
Browser Cache:
Click the Test Browser Cache button, then enable the recommended Cache-Control Header. Click the NEXT button when done: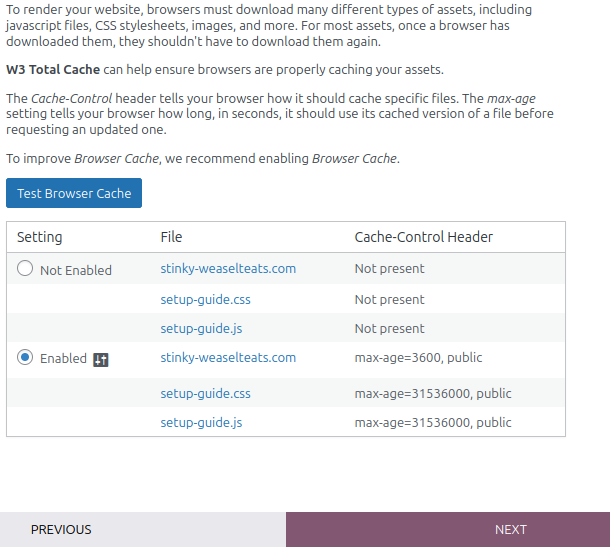
Image Optimization:
Click the checkbox to Enable WebP Converter, and click the NEXT button:
Lazy Load:
Click the checkbox to "Lazy Load Images", then click the "NEXT" button:
That's it!
You've now enabled every form of caching available on a WP site. Please contact Brownrice Support if you have any questions or issues!