This FAQ will walk you through using Cloudflare CDN with your Brownrice SmartVPS!
This article assumes that you already have a live WordPress site with Brownrice, and that you have already created a Cloudflare account.
1. Ensure your site on BRI is configured to use https://:
Within the BRI dashboard, ensure that your Wordpress URL is set to use https:// (not http://). This is important to ensure a seucre connection to cloudflare and avoid issues like redirect loops.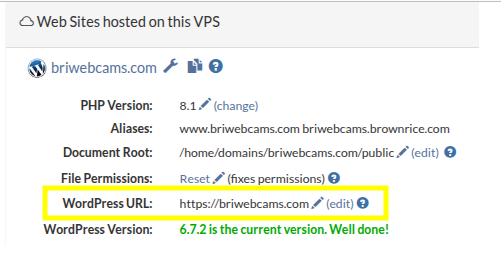
If it's not using https:// already, use our Wordpress URL tool to change it.
2. Setup your domain in cloudflare:
Login to your Cloudflare account, on the Home page Enter your domain where prompted. Keep the default option to "Quick scan for DNS records" checked.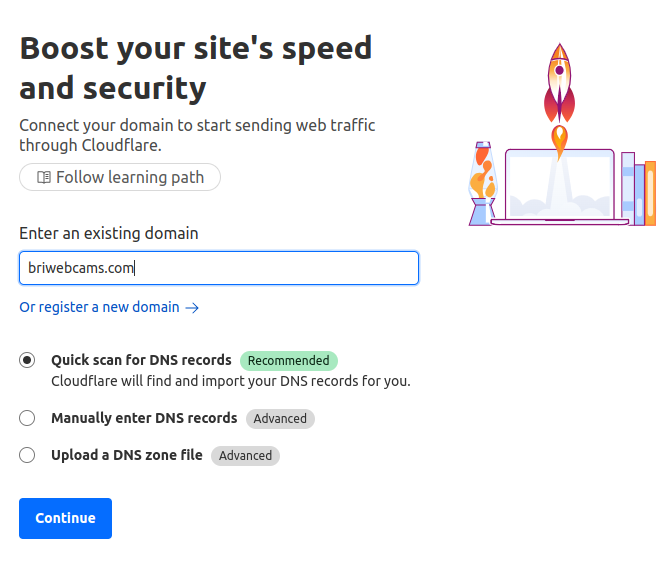
On the next page, select your plan (The free plan works great!), and click Continue: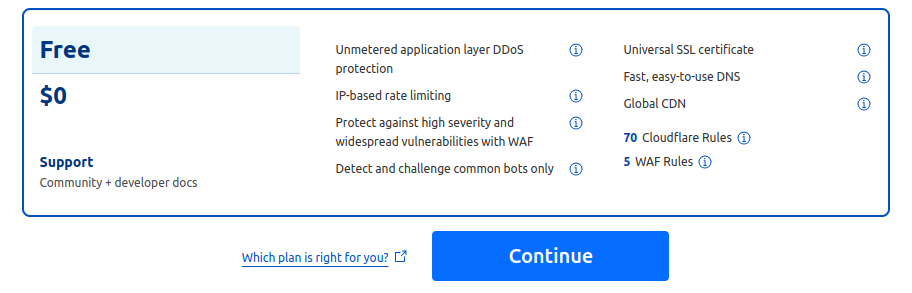
3. Setup DNS within Cloudflare:
The Cloudflare DNS scan should have automatically picked up your DNS records, including MX (mailserver), TXT, and any other records. However, at this time if you are using any custom records (you would likely know if you were), you should ensure those records are in place. Once done, click "Continue to activiation" at the bottom: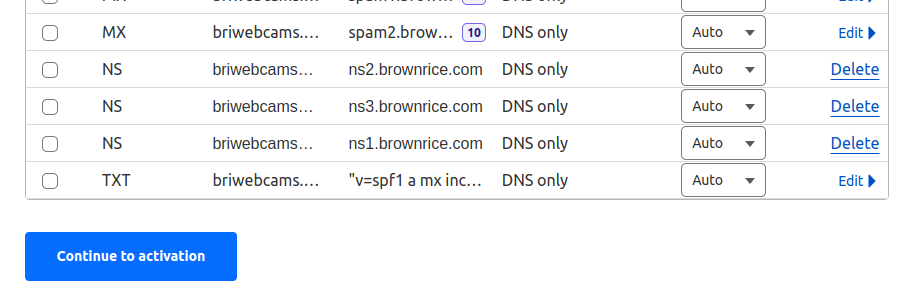
4. Switch your nameservers to Cloudflare:
At this point things are ready to switch your nameservers over to cloudflare. You should see a prompt like this showing you what nameservers to use: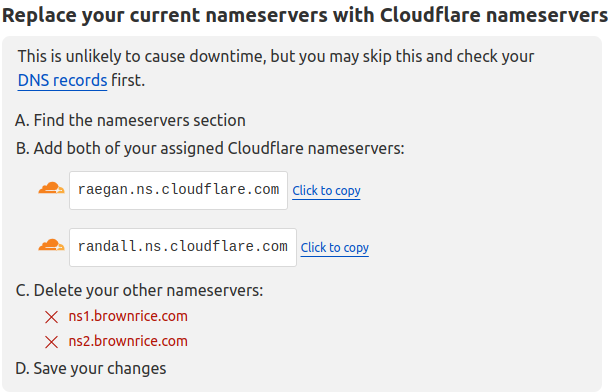
Note: Don't try to use the nameservers shown in this screenshot, Cloudflare will provide you with the nameservers that you should use upon setup and they may be different.
If you use Brownrice to register your domain, this can be done via our dashboard. If you aren't using Brownrice as your registrar, you will have to login to that provider and make change 4.a. there.
4.a. Within the Brownrice dashboard, update your nameservers to those provided by Cloudflare in step 4.
First, login to the Brownrice dashboard.
Navigate to the "DOMAINS" page on the left hand side.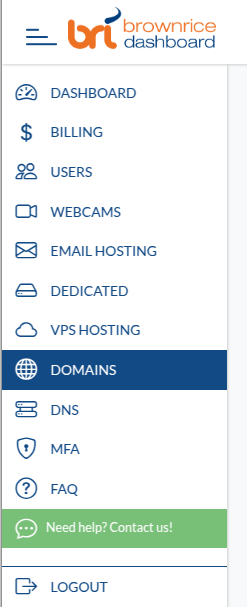
Click the green "Manage" button next to the domain you are using through Cloudflare:
Click the "DNS Servers" button next to your domain.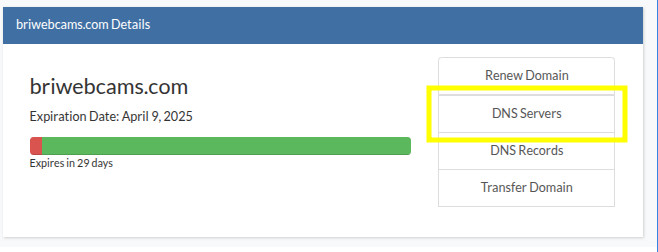
Click the "Edit DNS Servers Button at the bottom: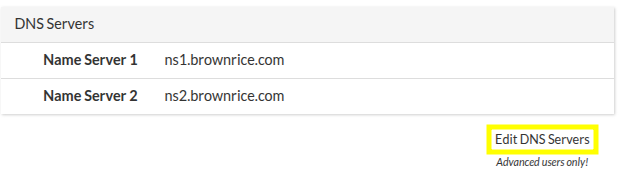
Add the nameservers provided by Cloudflare in step 4. above, then click the red "Save" button: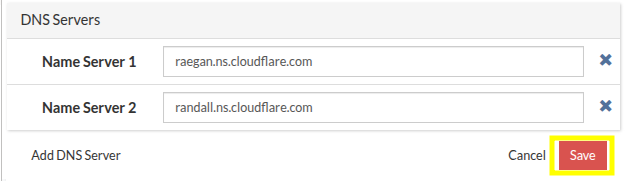
Note: Don't try to use the nameservers shown in this screenshot, Cloudflare will provide you with the nameservers that you should use upon setup and they may be different.
5. Finish the setup in Cloudflare:
Back in Cloudflare, click the "Continue" button at the bottom of the page:
You should see a notice about DNS propagation, like this: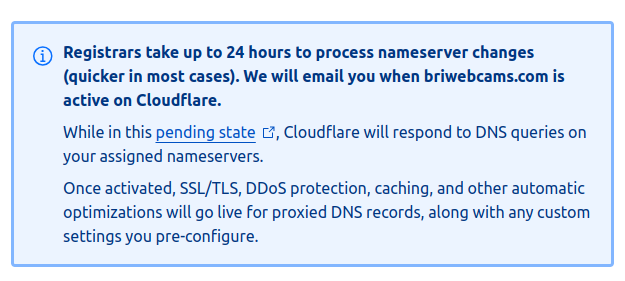
This is accurate, but your site will continue to work during the transition. You can check back after 24 hours and confirm that the change has propagated.
6. Switch SSL mode to Full (non-strict) mode.
This step is very important to prevent redirect loops and other issues.
Within Cloudflare, navigate to the SSL/TLS area of the dashboard: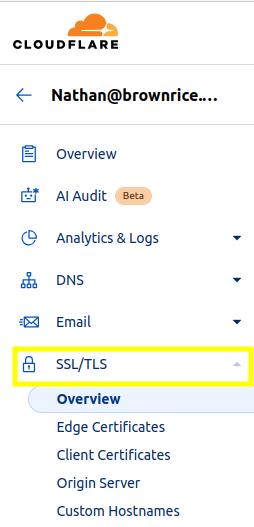
On the "Overview" page, click the blue "Configure" button: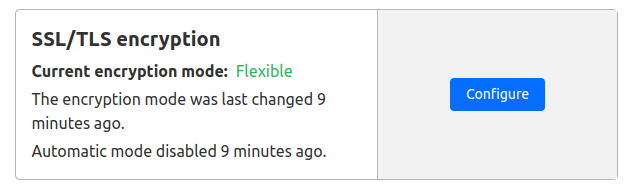
Scroll down to Custom SSL/TLS, select the checkbox for "Full" encryption, and click the blue "Save" button at the bottom: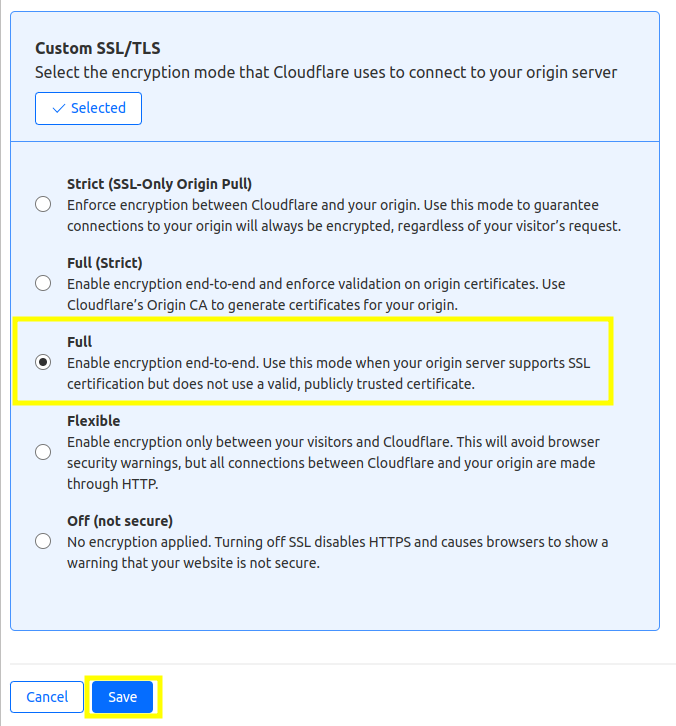
That's it! Your site is now fully configured to use Cloudflare CDN! Please contact BRI Support if you have any issues or questions!