Configuring Google Pixel Gmail for email
- On your Google Pixel, open the Gmail app.
- Click the user icon in the top right.
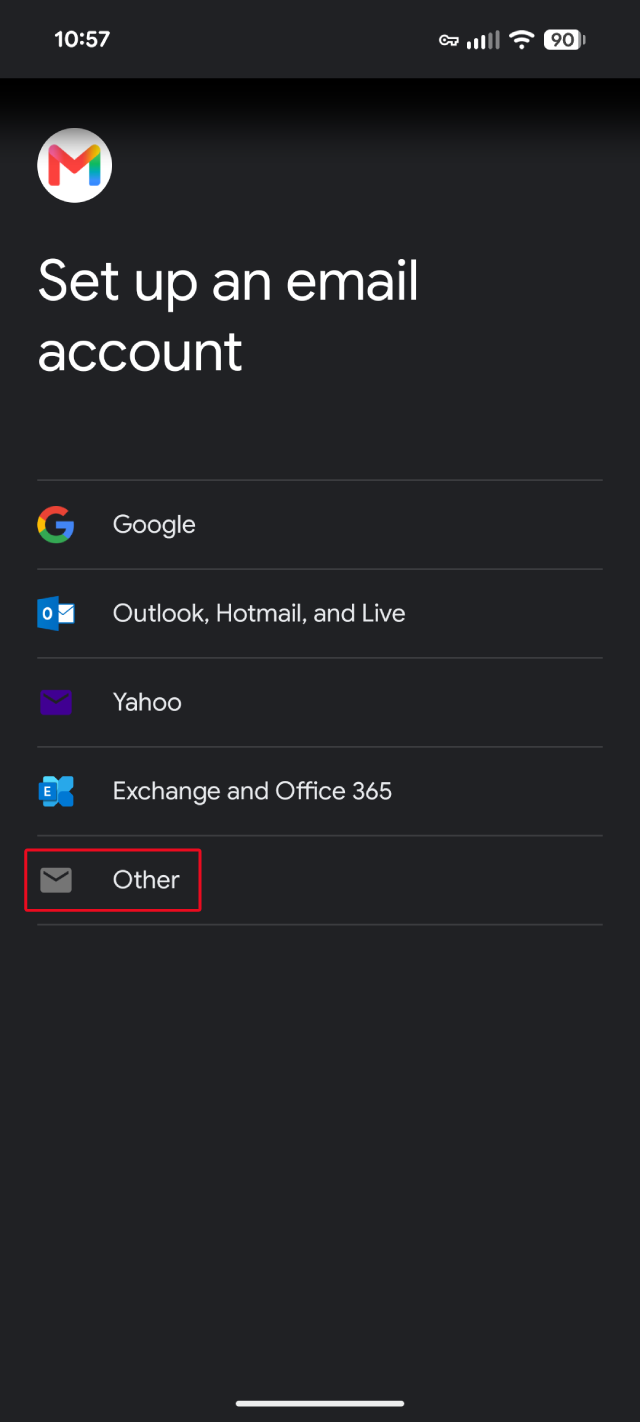
- Click Add another account. You'll be shown several options for what type of account you want to create. Choose Other.
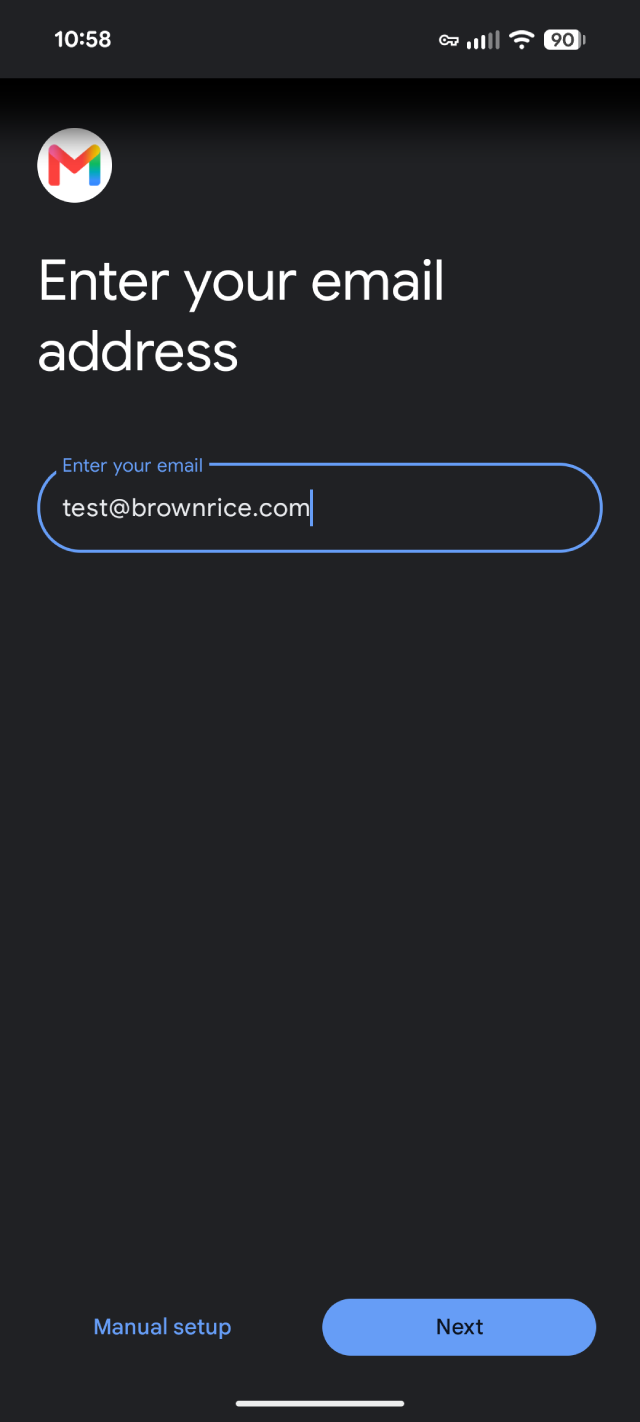
- Add your Brownrice email address.
- In the Enter your email field, enter your full email address (e.g., yourusername@brownrice.com).
- Click Next.
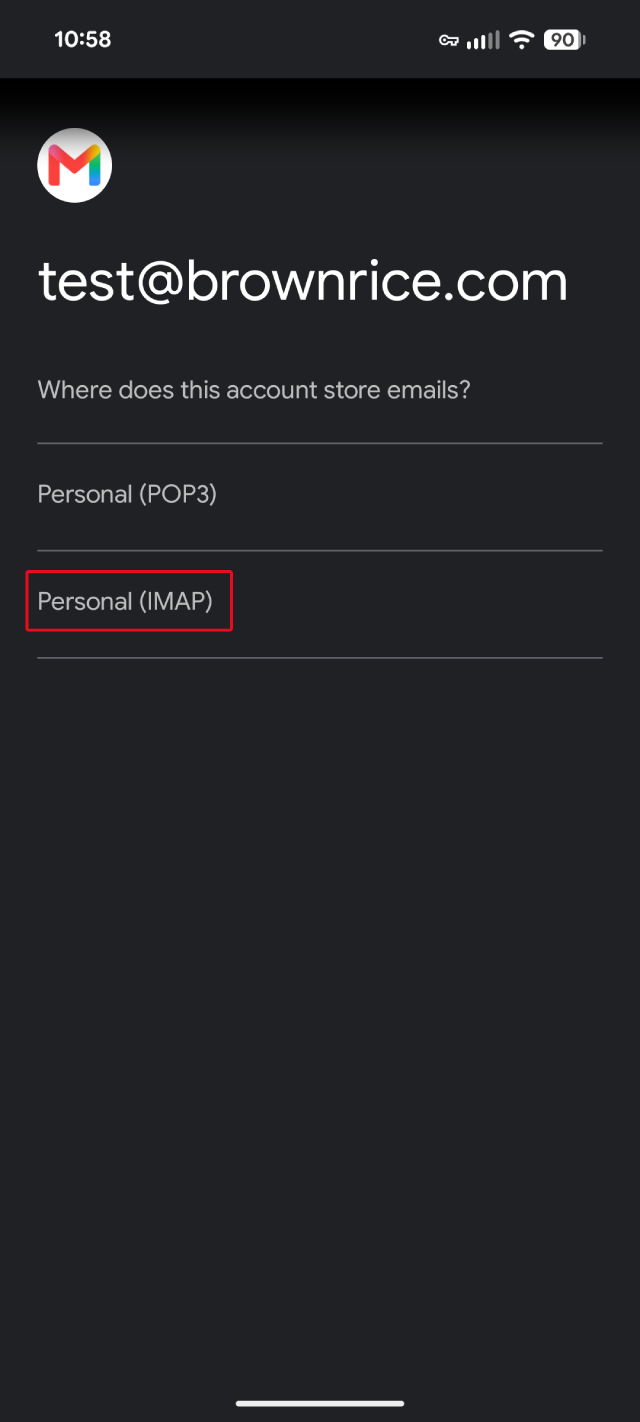
- Where does this account store emails?
- Select Personal (IMAP).
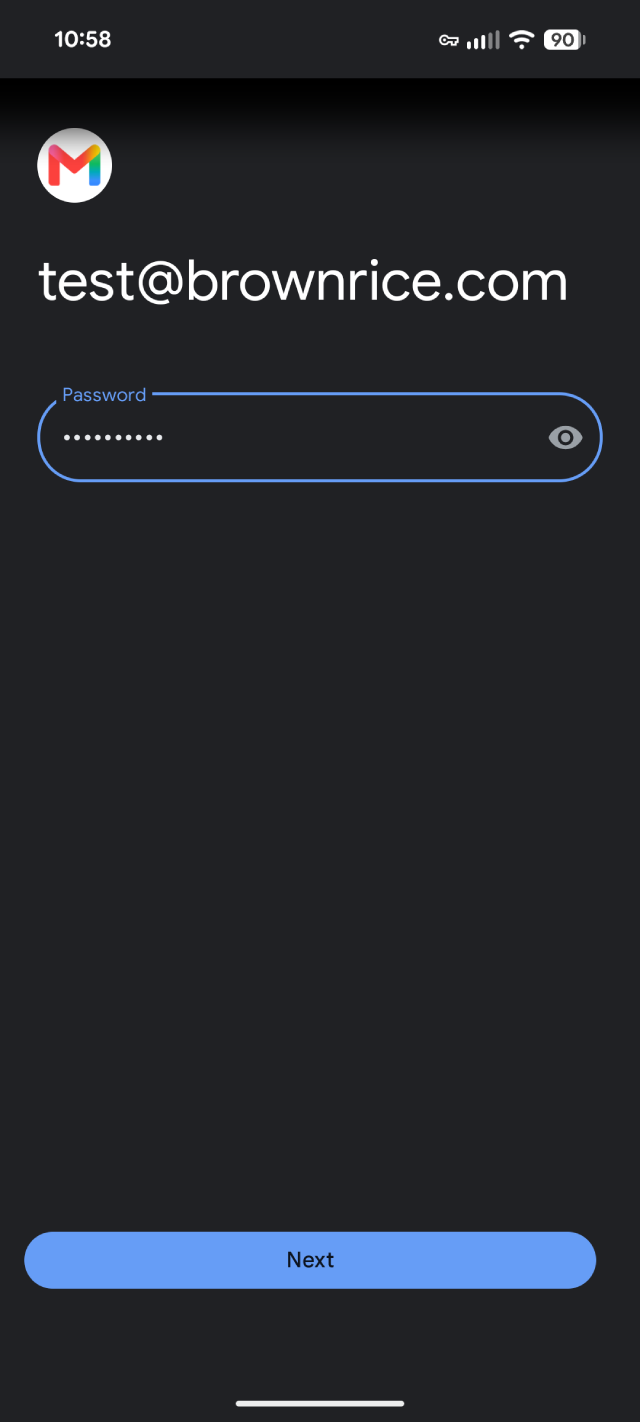
- In the Password field, enter your password (case-sensitive). Click Next
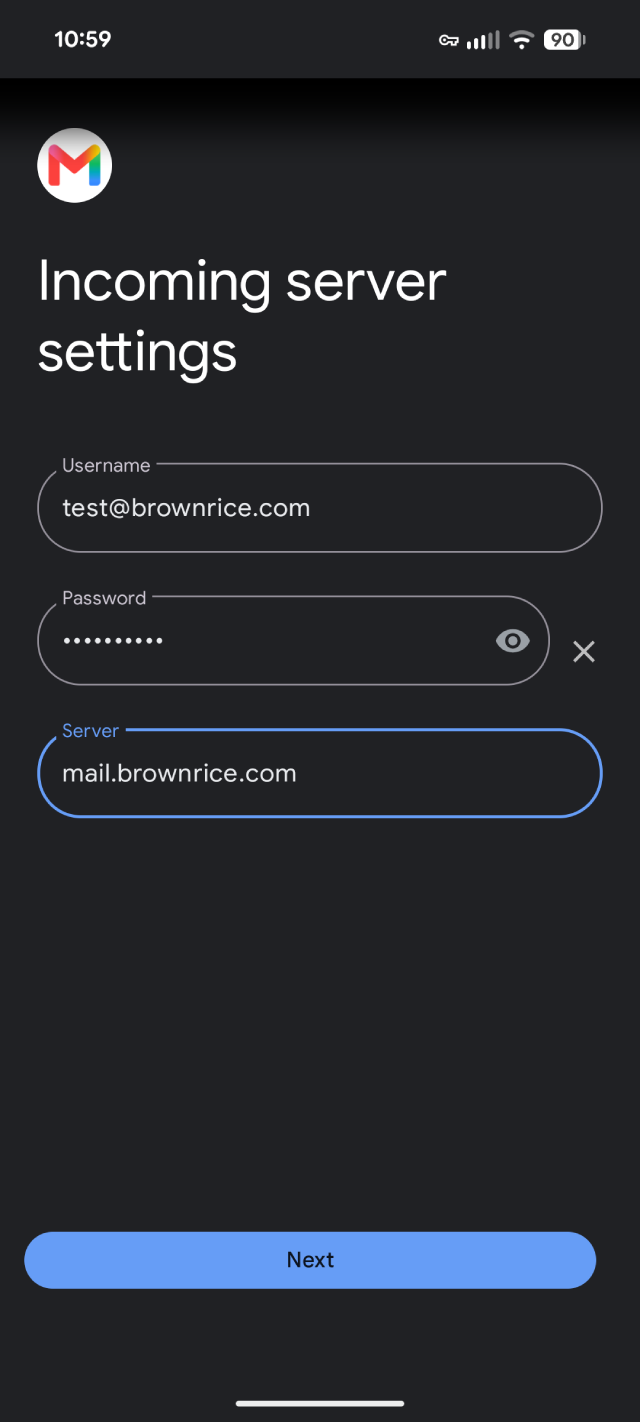
- Enter the Incoming server settings info.
- Your Username should be populated with your email address.
- In the Password field, enter your password (case-sensitive).
- Enter mail.brownrice.com in the Server field.
- Click Next
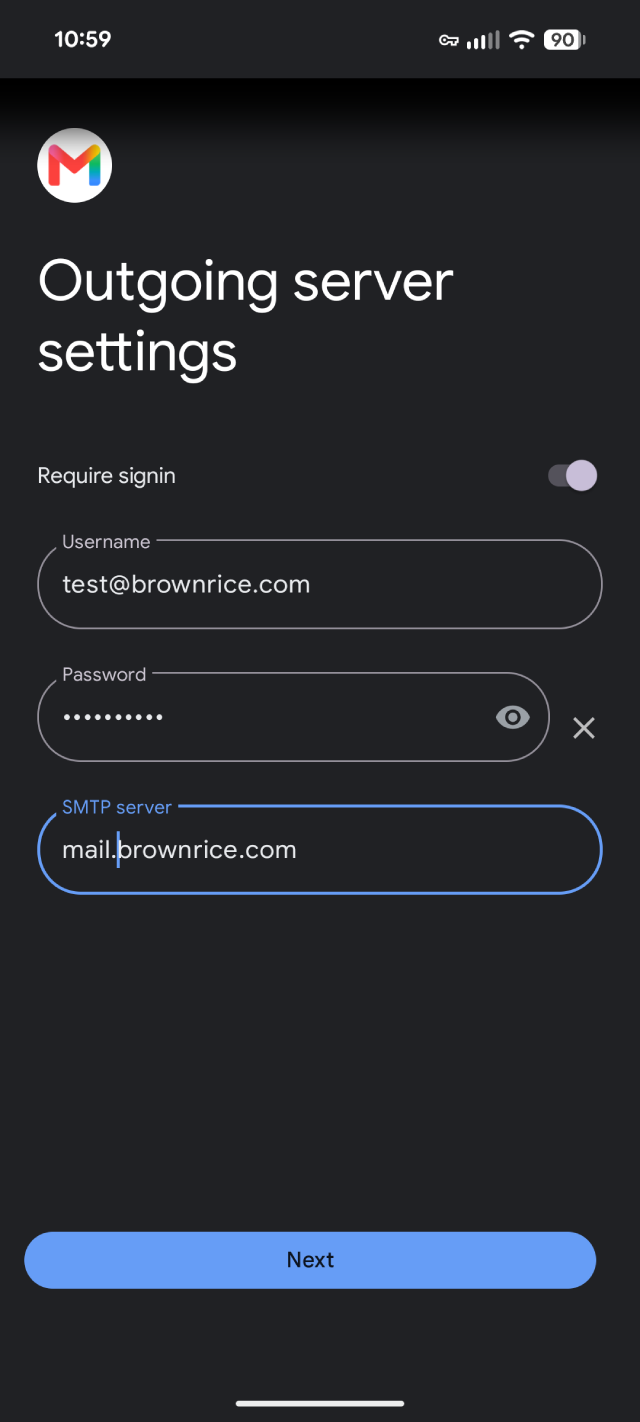
- Enter the Outgoing server settings info.
- Your Username should be populated with your email address.
- In the Password field, enter your password (case-sensitive).
- Enter mail.brownrice.com in the SMTP server field.
- Click Next
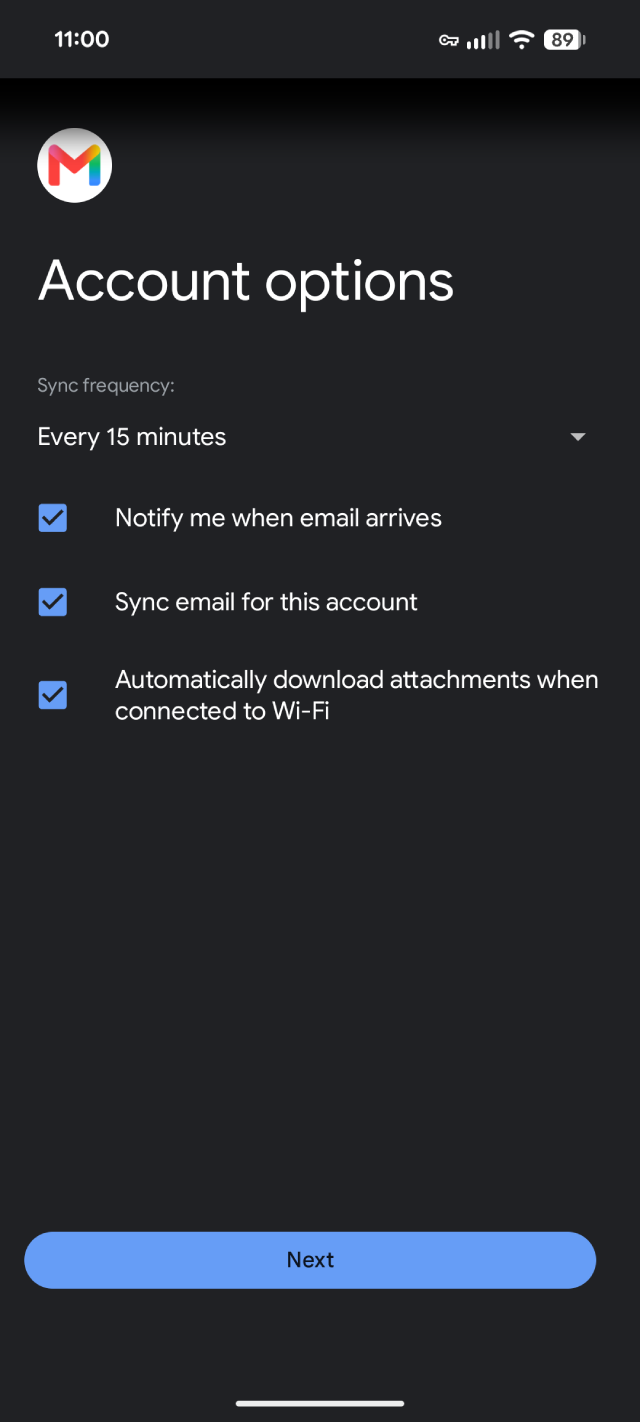
- Account options
- Select the Sync frequency.
- Check any options that apply.
- Click Next
- Your account is set up and email is on its way!
- Enter your name how you'd like it to be displayed on sent messages in the Your name field.
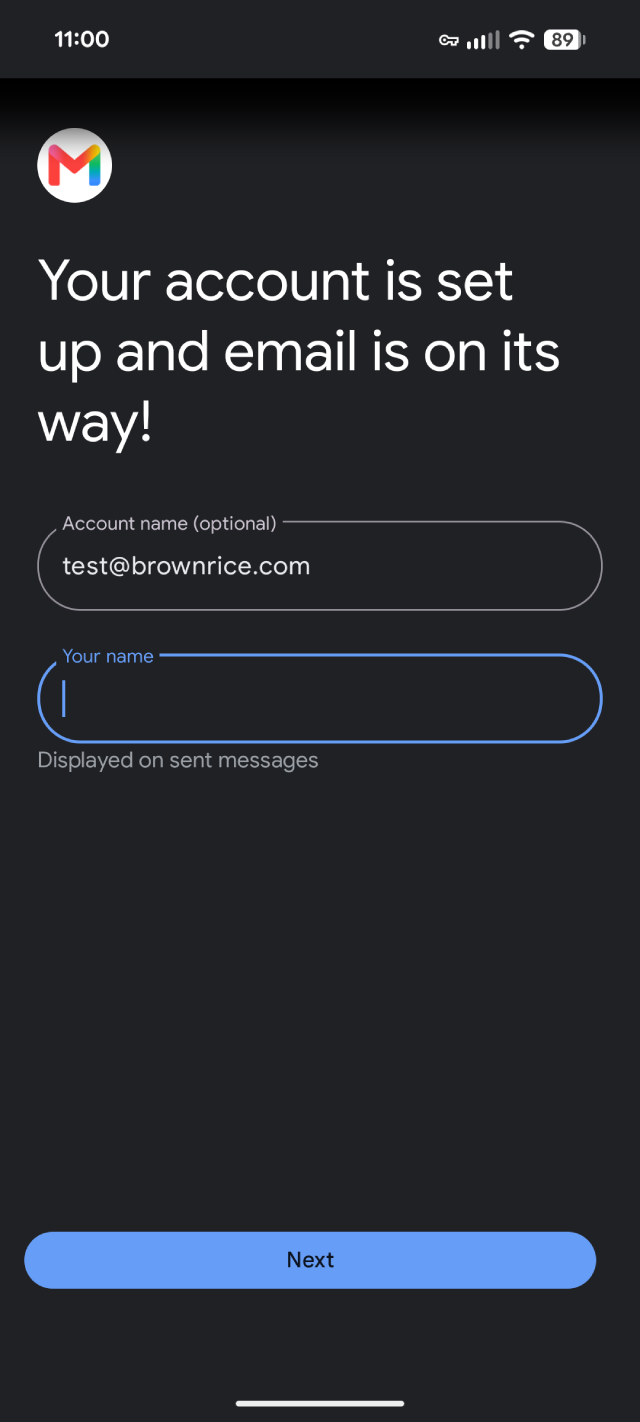
Voila! Setup is complete!
That's all the magic there is to it!
You are now ready to send and receive email using the Gmail app from your Google Pixel until the cows come home! Enjoy.