Ready. Set. Go live. Quick-Start Guide
Our Ready-Set-Stream (RSS) cameras are the easiest way to get your live stream up and running quickly and reliably. They eliminate the need for a fixed IP address and any modem port-forwarding setup. Follow our quick-start guide below to start streaming in just minutes!
What's in the box? Everything you need.
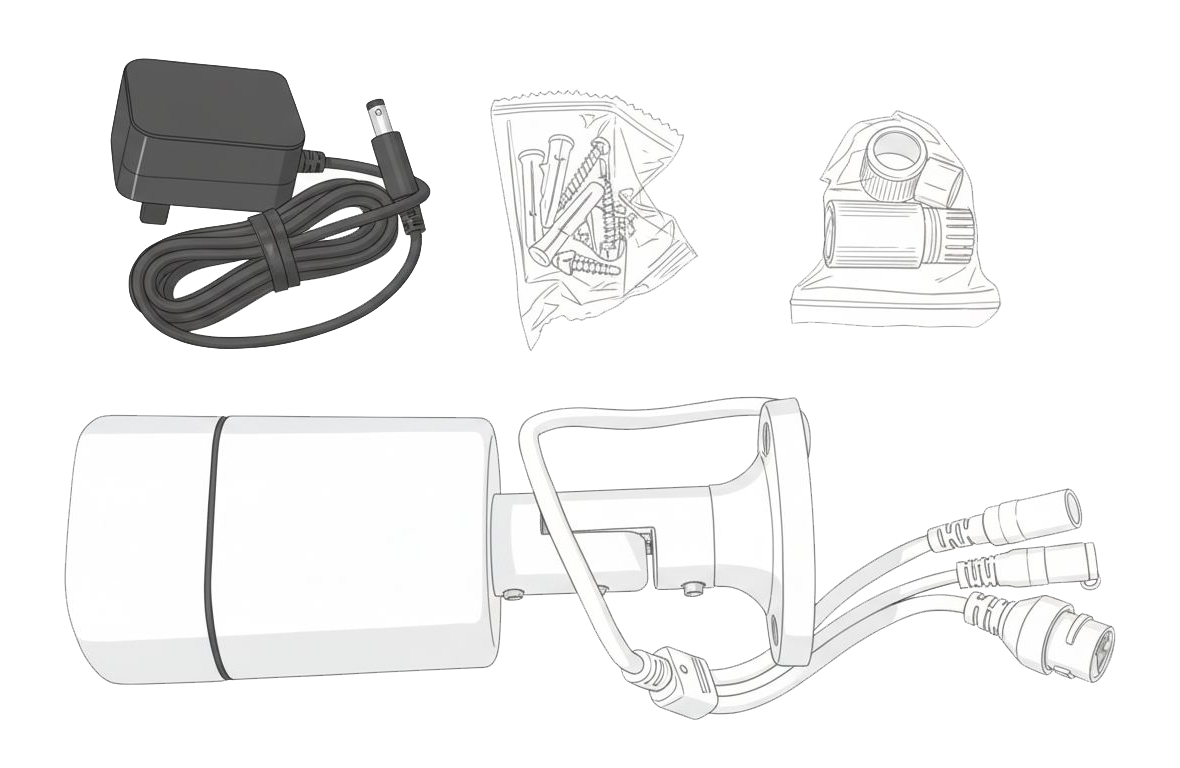
Inside your camera box, you’ll find everything required to get streaming fast. Make sure to note the camera name on the side of the box—this is your key to viewing, testing, and managing your stream.
- Camera Name Label (The VERY important sticker on the side of the box.)
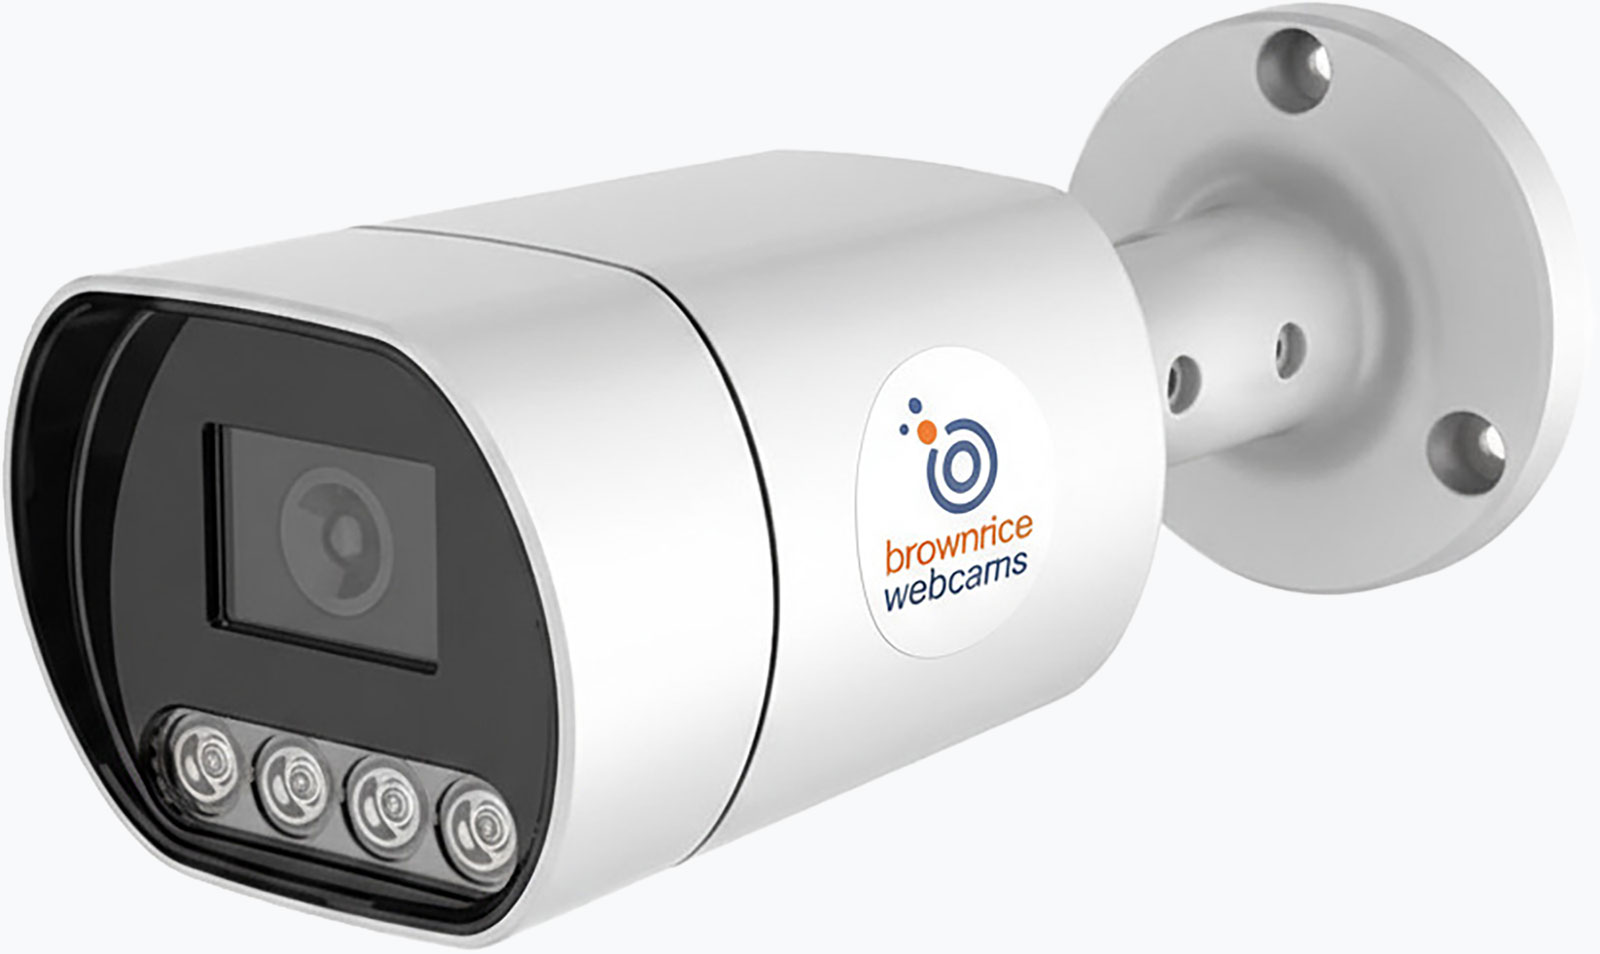
- Ready-Set-Stream Camera
- Power Cable & Plug
- Mounting Hardware
- Optional: Weather-proofing kit
Plug it in and connect your webcam to the internet.
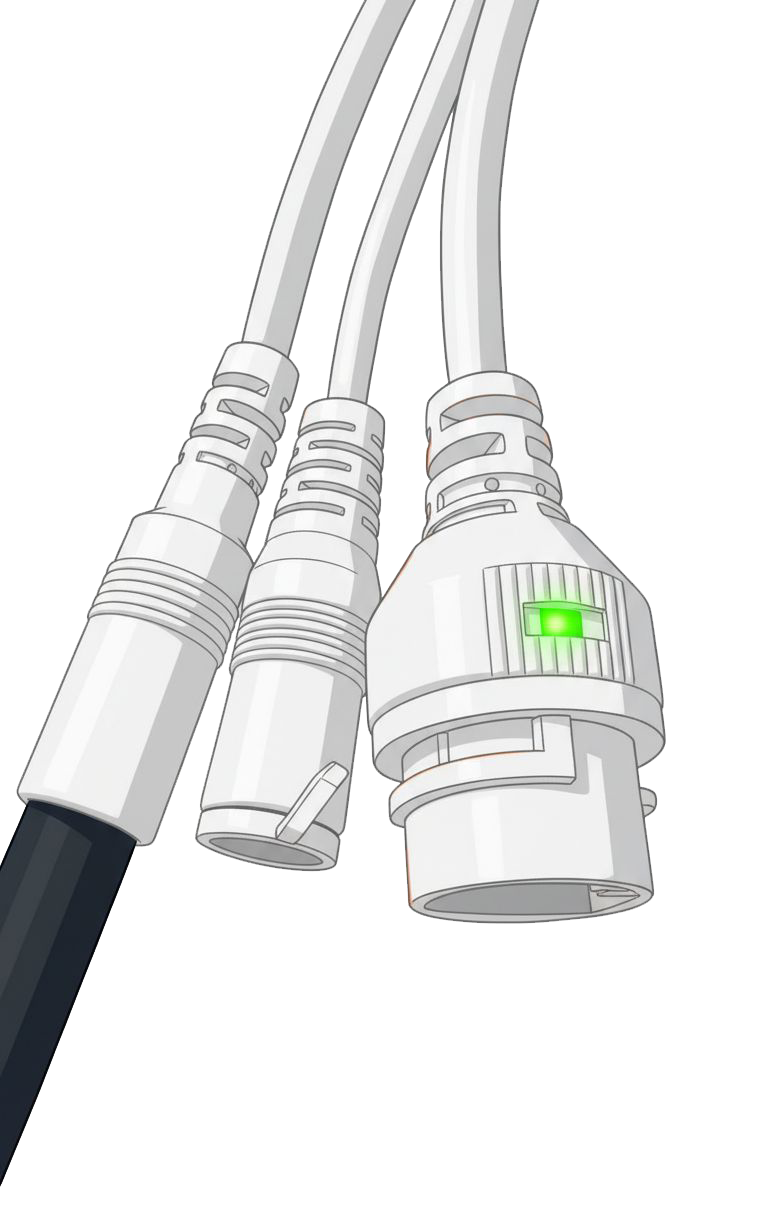
You'll be using the included power cable to plugin the camera and will also need a Cat5/6 Ethernet cable long enough to reach your camera from your router. This camera does not support WIFI.
- Determine clearest route from camera to power and internet connection.
- Plug in power cable to wall outlet or extension cord and the other end into the respective camera port. Confirm the camera is getting power by checking for a green light on the ethernet port lead off the camera.
Anternative Power Setup: These cameras also accept Power Over Ethernet (POE) and you can make use of this by connecting your own POE switch. If you go this route, disregard the power cable instructions above. - Connect one end of your Ethernet cable to your router and the other end to the respective cable lead coming off the camera. This will be the port that has the green light on if the camera is connected to power correctly. (This will leave the optical port covered and unused. That is expected.)
- That’s it—your camera is streaming!
- Optional: If setting up your camera outdoors, use the cable weather proofing hardware included in the box.
You're live! Preview your stream.
Find the camera name printed on the sticker on the side of your box, then preview your live stream at:
https://player.brownrice.com/embed/[your-camera-name]
(e.g. https://player.brownrice.com/embed/hookerupper2)
Manage your hosting account, fine-tune your player and explore our smart streaming features: https://dashboard.brownrice.com
- Set up a new account password at dashboard.brownrice.com by selecting the password reset link there. Be sure to use the email that you've been using to commmunicate with us as that will be your login username/email.
- Once logged into the dashboard, navigate to "WEBCAMS" and click the "Manage" button next to your camera's "name". You'll find plenty of camera options and toggles to experiment with there.
- You can add your camera stream to your website by grabbing your camera's embed code info by following our FAQ here: https://support.brownrice.com/content/6/225/en/what-is-the-embed-code-for-my-webcam.html
Here’s what an embedded stream looks like—live from the Brownrice Tankcam:
[bri_embed url="https://player.brownrice.com/embed/hookerupper2"]
Done! If you have any issues let us know.